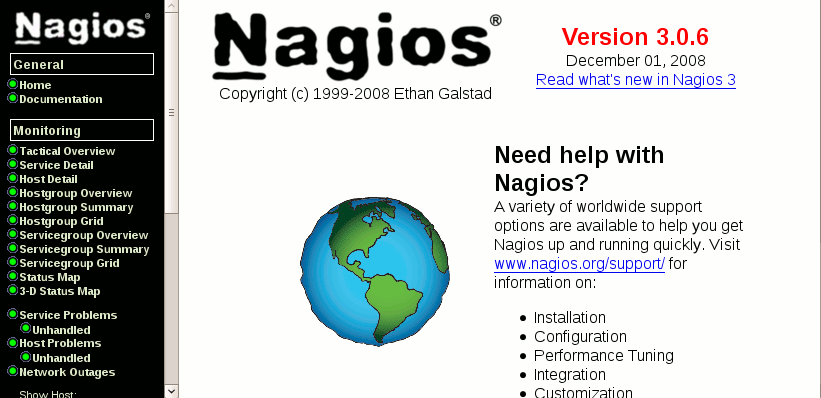
Nagios is a free, open-source tool that can be used to monitor network components and services. When it detects a problem, it can send alert messages by either email or pager. It can also be configured so that only designated personnel can view status information for particular services or equipment.
Nagios isn’t in the official Red Hat or CentOS repositories, so the first thing you’ll need to do is to install the Dag Wieers/RPMForge repository into your YUM configuration. First, go to the Dag Wieers/RPMForge website.
http://dag.wieers.com/rpm/FAQ.php#B
Copy and paste the appropriate command for your Red Hat-style distro to the command-line of your local computer.
Example:
rpm -Uhv http://apt.sw.be/redhat/el5/en/i386/rpmforge/RPMS/rpmforge-release-0.3.6-1.el5.rf.i386.rpm
To keep the RPMForge packages from overriding official CentOS packages, install the YUM Priorities plug-in.
yum install yum-priorities
Then, open the /etc/yum/pluginconf.d/priorities.conf file, and verify that the following lines are present:
[main]
enabled = 1
Open the /etc/yum.repos.d/CentOS-Base.repo file, or whatever its equivalent it for your distro, and add the line:
priority=1
to the “base”, “addons”, “updates”, and “extras” sections of the file. Add the line:
priority=2
to the “centosplus” and “contrib” sections of the file. (Again, the section names may vary, depending on which particular distro that you’re running.)
Open the /etc/yum.repos.d/rpmforge.repo file, and add the line:
priority=11
To test your configuration, run the command,
yum check-update
When it finishes, you should see a line similar to:
818 packages excluded due to repository priority protections
Install Nagios
yum install nagios nagios-plugins
Change the Contact Information
Edit /etc/nagios/objects/contacts.cfg
Place your email in the email location.
define contact{
contact_name nagiosadmin ; Short name of user
use generic-contact ; Inherit default values from generic-contact template (defined above)
alias Nagios Admin ; Full name of user
email your_email ; <<***** CHANGE THIS TO YOUR EMAIL ADDRESS ******
}
To enable encrypted communication between the Nagios server and any client on which you wish to view network status information, you’ll also want to install the mod_ssl package.
Pre-Flight Check
# nagios -v /etc/nagios/nagios.cfg
nagios -v /etc/nagios/nagios.cfg
Nagios 3.0.6
Copyright (c) 1999-2008 Ethan Galstad (http://www.nagios.org)
Last Modified: 12-01-2008
License: GPL
Reading configuration data…
Running pre-flight check on configuration data…
Checking services…
Checked 8 services.
Checking hosts…
Checked 1 hosts.
Checking host groups…
Checked 1 host groups.
Checking service groups…
Checked 0 service groups.
Checking contacts…
Checked 1 contacts.
Checking contact groups…
Checked 1 contact groups.
Checking service escalations…
Checked 0 service escalations.
Checking service dependencies…
Checked 0 service dependencies.
Checking host escalations…
Checked 0 host escalations.
Checking host dependencies…
Checked 0 host dependencies.
Checking commands…
Checked 24 commands.
Checking time periods…
Checked 5 time periods.
Checking for circular paths between hosts…
Checking for circular host and service dependencies…
Checking global event handlers…
Checking obsessive compulsive processor commands…
Checking misc settings…
Total Warnings: 0
Total Errors: 0
Things look okay – No serious problems were detected during the pre-flight check
By default it should run and you should be able to login to the web interface after you create the nagios user.
htpasswd -c htpasswd.users nagios
New password:
Re-type new password:
Adding password for user nagios
Now login to the web interface with http://ip_address/nagios

You will not have all of the rights to view everything but for the purposes of making sure it all works you will see it is all running. Now you need to configure it for your settings.

{ 1 comment }
Full path for htpasswd.users file is /etc/nagios/… it wasn’t apparent from these instructions.
{ 1 trackback }